The Brilliant Bathroom Remodeling Company "JOB", IS TO CREATE EXPERT DESIGNS, REMODELING AND UPGRADES FOR YOUR BATHROOM SERVICES, THAT INCLUDES, THE CITY OF LA QUINTA AND FOR THE REST OF THE COACHELLA VALLEY.
Turn your ideas FOR YOUR BATHROOM, INTO A REALITY.
ARE YOU considering a new bathroom remodeling design installation because you want to add value to your home, or do you need to remodel out of necessity? Is your current bathroom too small or poorly laid out, or the Floor or Wall Tile needs to be replaced? Are you looking for a bathroom remodeling design that better suits your personal style? The bathroom remodeling design process can be overwhelming when you try to do it on your own. When you hire a design-to-build firm like the Brilliant Bathroom Remodeling Company, all of the guess work is taken out of the equation. Working with you, we take care of everything from start to finish.
BEFORE YOUR START!
Initial Consultation
Our design team will ask you many questions about what you like and don't like about your existing bathroom in order to design the best space for you. Your bathroom's layout should suit your lifestyle and function well for you. The style should complement your home’s design and reflect your taste. At this initial meeting, we will be able to give you a good estimate of the cost range that your full bathroom remodel will fall into.
Design Phase
Once you decide that BRILLIANT is a good fit for you, we will get to work on designing your bathroom within the pre-discussed budget range. We professionally space plan the bathroom and our in-house designer selects the finishes such as tile, cabinetry finishes and colors, faucets, etc.
Review
We can guide you to cost saving options in certain areas so that you can splurge on the things that are most important to you. Material selection can be one of the most difficult parts of a bathroom remodel because there are so many parts and pieces involved. The team at BRILLIANT can guide you to the best selections in everything from tile to faucets and everything in between. We can introduce you to the latest innovations in bathroom storage and technology. Once the design and finish selections are finalized, we order all the parts and pieces needed for your remodel and then move into the building phase.
Building
We understand that a bathroom remodel can be a disruption to your home life, so we take every measure to maintain a clean job site and to be respectful of your home. All our skilled installers and tradesmen are held to a very high standard in both their workmanship and their level of professionalism in the workplace, your home. We handle all the workflow and scheduling of all trades from the initial demo to the installation of the final door pull, and everything in between.
Get Every Answer
The Brilliant Bathroom Remodeling Company has been a successful BUSINESS since 2017.
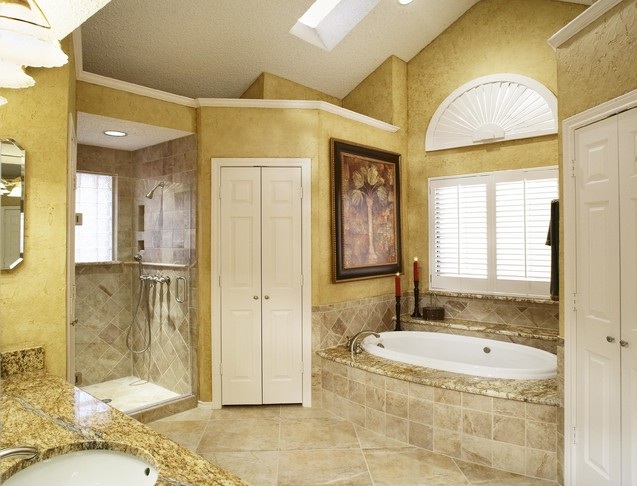
We can create a bathroom remodel installation that will provide you with a retreat to enjoy while increasing the value of your biggest investment – your home.
A new bathroom can add the finishing touch to any Coachella Valley home remodeling project.
We are highly competitive in price, as we have our own installation crew.
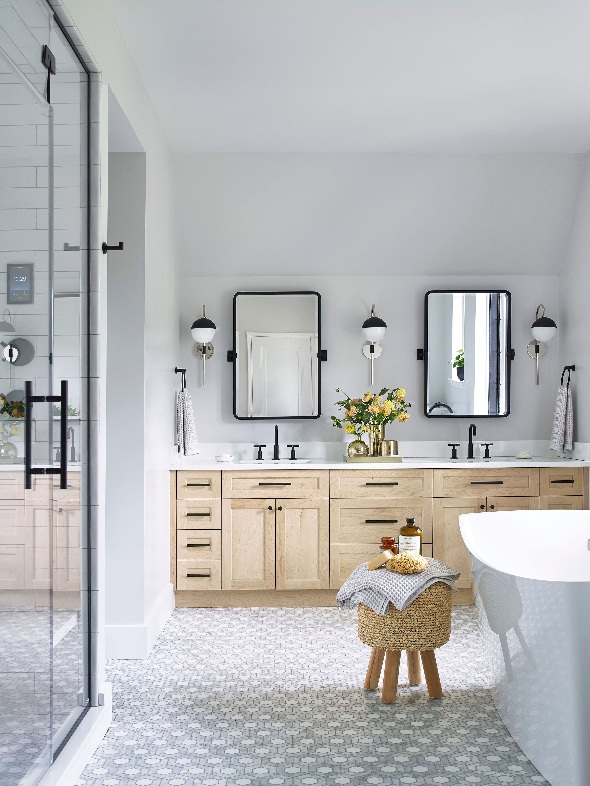
One of the primary functions of a bathroom vanity is to provide storage space for toiletries, towels, and other essentials. Evaluate your storage needs based on your lifestyle and the number of people using the bathroom. Do you require ample drawer space for organizing cosmetics and grooming supplies? Would you prefer open shelving for displaying decorative items or storing towels? Consider opting for a vanity with a combination of drawers, cabinets, and shelves to accommodate your specific storage requirements and keep your bathroom organized and clutter-free.
Choose the Right Style:
The style of your vanity should complement the overall design aesthetic of your bathroom and reflect your personal taste. Whether you prefer a sleek and contemporary look or a timeless and traditional vibe, there’s a vanity style to suit every preference. At BRILLIANT, we offer a wide range of vanity styles, from modern floating vanities with clean lines to classic pedestal vanities with intricate detailing. Consider the architectural style of your home and the existing décor in your bathroom when selecting a vanity style to ensure a cohesive and harmonious look.
Select the Material and Finish:
The material and finish of your vanity play a significant role in its durability, maintenance requirements, and aesthetic appeal. Common materials for bathroom vanities include wood, engineered wood, metal, and glass. Wood vanities offer warmth and natural beauty, while metal and glass vanities provide a sleek and contemporary look. Consider factors such as moisture resistance, ease of cleaning, and compatibility with your overall design scheme when choosing the material and finish for your vanity. At BRILLIANT, we offer high-quality vanities crafted from premium materials that are designed to withstand the rigors of daily use and enhance the beauty of your bathroom.
Pay Attention to Details:
When selecting a vanity, don’t overlook the importance of details such as hardware, countertops, and sink options. Hardware, such as drawer pulls and knobs, can add personality and character to your vanity while enhancing its functionality. Choose hardware finishes that complement other fixtures in your bathroom, such as faucets and showerheads. Additionally, consider the type of countertop material that best suits your needs and aesthetic preferences, whether it’s durable quartz, luxurious marble, or budget-friendly laminate. Finally, explore different sink options, such as undermount, drop-in, or vessel sinks, to find the perfect match for your vanity style and space requirements.
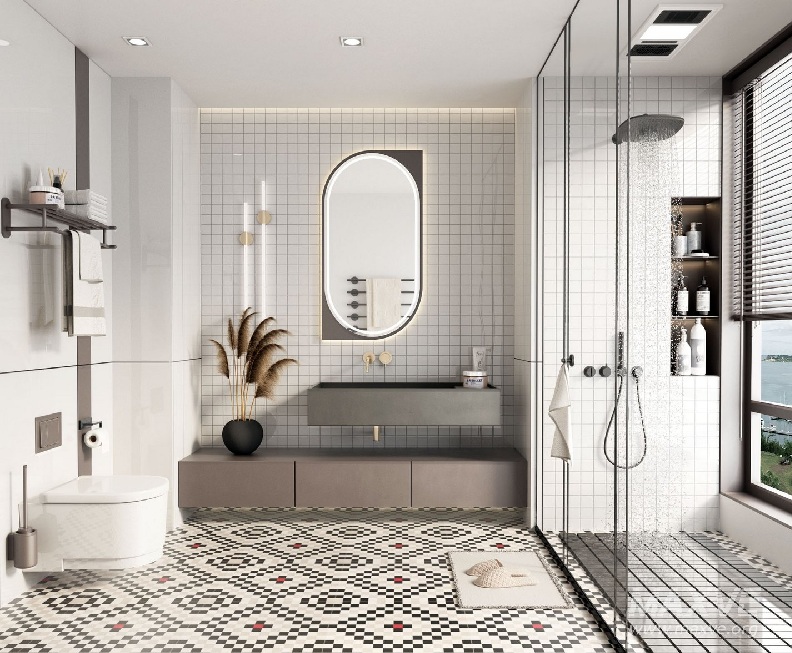
Why Remodel Your Walk-In Shower?
Choosing to remodel your shower can significantly enhance your bathroom's functionality, aesthetics, and overall comfort. Remodeling your shower is a worthwhile investment that can enrich your quality of life and add value to your home. You can enjoy a more efficient and sustainable water usage, which is both eco-friendly and cost-effective. Plus, updating your shower allows you to address any existing safety concerns, making your bathroom safer and more accessible.
Now.....If you wanted to do this by yourself, the following is a great general guide.
Remodeling a bathroom shower, bathtub, and sinks involves careful planning, demolition, and installation. Below is a concise step-by-step guide to help you through the process, assuming a DIY approach or oversight of hired professionals. Always check local building codes and consider permits.
1. Planning and Design
Assess Needs: Decide on the scope (e.g., replace fixtures, update tiles, improve accessibility).
Set Budget: Factor in materials, labor (if hiring), permits, and a 10-20% contingency.
Choose Fixtures:
Shower: Prefab unit or custom tiled? Consider walk-in, glass doors, or shower panels.
Bathtub: Freestanding, alcove, or combo shower/tub? Material (acrylic, fiberglass, cast iron)?
Sinks: Vanity with single/double sink, pedestal, or wall-mounted? Faucet style?
Permits: Check with your local municipality for required permits (especially for plumbing/electrical).
3. Demolition
Turn Off Utilities: Shut off water and electricity to the bathroom.
Remove Old Fixtures:
Sinks: Disconnect plumbing, remove faucets, and lift out the sink/vanity.
Bathtub: Disconnect drain and water lines, remove surrounding tiles, and pull out the tub.
Shower: Remove showerhead, valves, and tiles/panels. For prefab units, cut and remove.
Clear Debris: Dispose of old materials responsibly (rent a dumpster if needed).
Inspect: Check for water damage, mold, or structural issues. Fix before proceeding.
4. Rough-In Plumbing and Electrical
Plumbing:
Install or reroute water supply lines and drain pipes for new fixtures.
Use PEX or copper for supply lines; ensure proper sizing for drains (e.g., 2” for showers).
Install shut-off valves and new drain assemblies.
For showers, consider a mixing valve for temperature control.
Electrical:
Upgrade wiring for new lighting, outlets, or heated floors (hire an electrician if needed).
Ensure GFCI outlets for safety near water.
Ventilation: Upgrade or install a bathroom fan to prevent mold.
5. Prepare Surfaces
Walls/Floors:
Install cement backer board or waterproof drywall around shower/bathtub areas.
Apply a waterproof membrane (e.g., RedGard, Schluter Kerdi) to shower walls and pan.
Level the floor and ensure proper slope for shower drainage (1/4” per foot).
Shower Pan:
For custom showers, build a sloped mortar bed or install a pre-sloped pan.
For prefab showers, set the base per manufacturer instructions.
Dry Fit: Test-fit fixtures to confirm layout and plumbing alignment.
6. Install Fixtures
Bathtub:
Set the tub in place, level it, and connect to the drain and water lines.
Secure to studs and install surrounding backer board.
Shower:
Install the shower pan or prefab unit.
Mount shower valves, showerhead, and any niches or grab bars.
Sinks:
Install the vanity or pedestal, secure the sink, and connect faucets and drains.
Ensure proper sealing with silicone caulk around edges.
Test: Turn on water and check for leaks. Fix any issues before tiling.
7. Tiling and Finishing
Tile Installation:
Apply thin-set mortar and lay tiles on walls, floors, or shower surfaces.
Use spacers for even grout lines. Cut tiles as needed for edges or fixtures.
Let set for 24 hours, then apply grout and seal after curing (48-72 hours).
Countertops: Install stone, quartz, or laminate countertops on vanities.
Caulk and Seal: Apply silicone caulk around fixture edges and seams for waterproofing.
8. Final Touches
Install Accessories: Add mirrors, towel bars, lighting, and cabinet hardware.
Paint: Use moisture-resistant paint for non-tiled walls.
Clean Up: Remove dust, polish fixtures, and clean tiles.
Final Inspection: Ensure all plumbing, electrical, and fixtures meet code.
Tips on normal size and requirements project
Timeline: A full remodel takes 1-6 weeks, depending on complexity and DIY vs. professional work.
Cost: Expect $5,000-$50,000+ (materials, labor, and fixtures). High-end finishes increase costs, such as special tile floors and walls.
Safety: Wear protective gear, handle tools carefully, and avoid working on live electrical systems.
Hire Help: For plumbing, electrical, or structural work, professionals ensure code compliance.
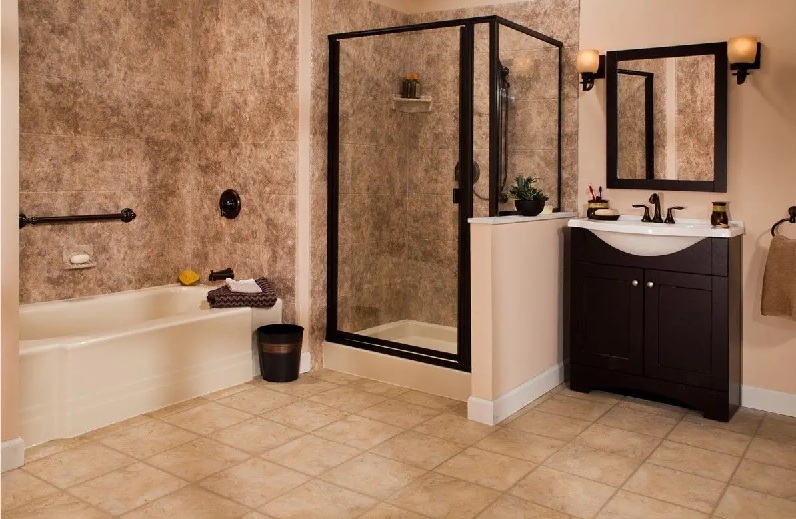
Why Replace Your Bathroom Floors?
The right TILE Flooring can dramatically enhance the look and functionality of your bathroom. Our selection includes durable, waterproof flooring that comes in rich elegant stone tile patterns. Easy to clean and stunning to view, our flooring solutions are practical without compromising on style.
Why Choose Us?
Producing ideas, making designs, and getting design inspiration is easy. However, thinking about where to begin will make everything complicated. This is where OUR COMPANY comes in!
With our exceptional team of installers, consultants and designers, we are sure to make your dream bathroom remodel installation happen! Working with the utmost professionalism is a standard here at The Brilliant Bathroom Remodeling Company
You will be amazed at the respect and care our staff will show your home. This is how we do things; we care about harmony and relationship, just as how we care about providing top-notch services.
BRILLIANT BATHROOM REMODELING COMPANY, IS A DIVISION OF WILCOX ENTERPRISES, A STATE OF CALIFORNIA LICENCED GENERAL CONTRACTOR. WILCOX ENTERPRISES ARE FULLY INSURED AND BONDED. ESTABLISHED 1996.